Creating Augmented Reality with AR.js and A-Frame
Don’t Worry It’s Less Than 10 Lines of HTML
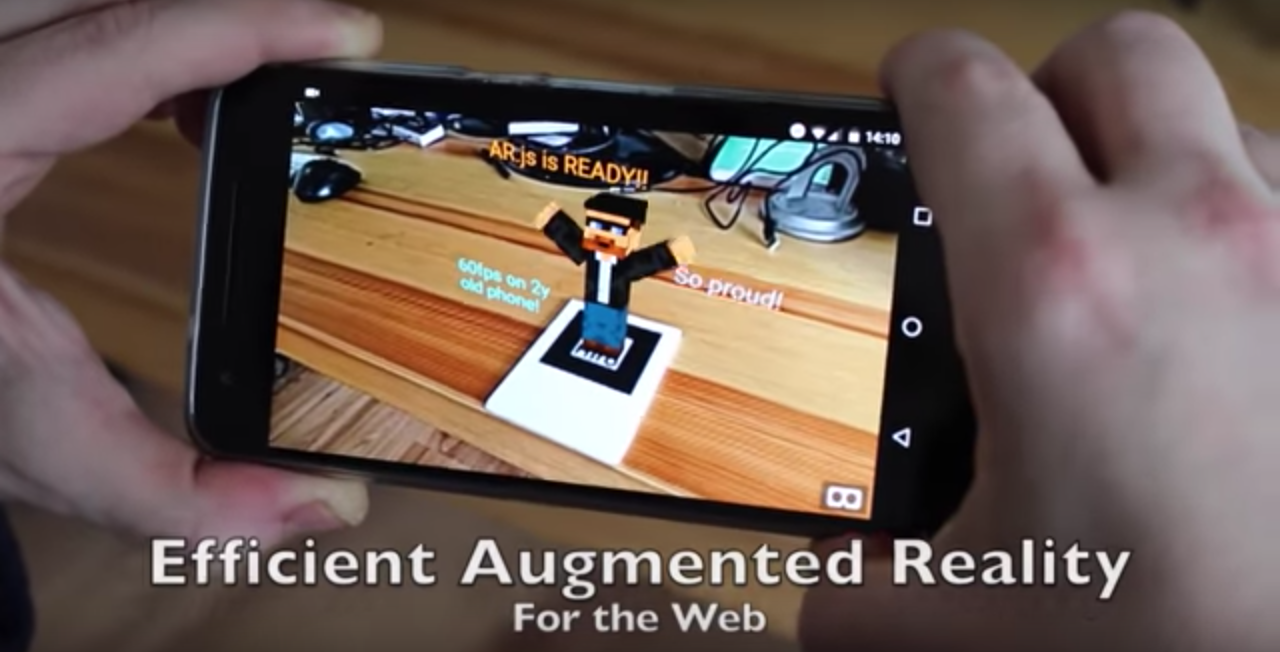
AR.js is an efficient Augmented Reality solution on the Web. It runs 100% in your web browser, this means no app to install! There is no need for a specific device either e.g. Tango or iphone. It runs on all mobile platforms: Android, iOS11 and Windows mobile. You can use it with your own phone.
Depending on your device, it can run very fast, up to 60fps on 2year-old phones! On top of that, the code is open source and all available on github.
A-Frame is very easy to use so I wanted to make sure that AR.js was working well with it. Thus, combining A-Frame and AR.js, it’s simple for everybody to create AR content on the web.
Sounds good? Let’s see how to use it.
Show Don’t Tell

Today you can make augmented reality in 10 Lines of HTML, isn’t the web amazing? It is really that simple, you can try live on codepen. Just put a hiro marker in front of the camera and we will add the augmented reality on it.
<!-- include A-Frame obviously --> |
In this scene, the camera is being moved by AR.js, and
the origin of your scene is at the center of the marker.
All the rest is normal A-Frame.
So if you want to add new objects in the augmented reality, just add it
near the <a-box>
Add Augmented Reality in your A-Frame Project

To include AR.js, you need to include aframe-ar.js. Then you initialize ar.js in <a-scene>.
<a-scene embedded arjs> |
Then you tell A-Frame that you want arjs to control the camera. For that, you just add
<a-marker-camera preset='hiro'></a-marker-camera> |
Don’t forget to add the body style and a-scene embedded attribute. And you are ALL DONE ð
Personalize Your AR Content
Now we have a basic cube in AR… It would be good to personalise the AR a bit. Let’s see how to add a text, an image or even your own model in augmented reality.

One of the most asked questions has been “how to load my own model in AR?”. As I said before, ar.js controls the displacement of the camera, all the rest is classic A-Frame. So you can load a model exactly as you would in A-Frame.
Here is an example of loading a gltf model, just add that in your a-scene. For more detail see A-Frame documentation about models.
<!-- define your gltf asset --> |
Another way to easily personalize your AR is to put a text or an image on top. To add a text, simply just use a-text as below.
<a-text value="Hello, World!"></a-text> |
To add an image, a-image is easy. Just paste this in your A-Frame scene.
<a-image src="another-image.png"></a-image> |
Customize Your Marker

We understand that many people want to personalize the marker. It is possible to replace the Hiro pattern with your own image, as long as it is inside the black border. We have provided an easy way to this. It is called the marker generator. We even wrote a whole step by step post to help you get started.
First, you upload your own image and generate a pattern file pattern-marker.patt.
Second, you download the trained marker. And third, potentially print your marker.
We provide a PDF file to make it easier for you.
What to do with the generated pattern file? This file contains the encoded
marker that you should reuse in your code. You specify you want a pattern
marker and you provide the url to your own marker. So in our case
<a-marker-camera> should be replaced by the following.
<a-marker-camera type='pattern' url='path/to/pattern-marker.patt'></a-marker-camera> |
Simple enough.
Different Type of Markers: Pattern and Barcode
Up to now, we use the ‘pattern’ marker. But AR.js supports another kind of marker, called barcode. Each of those markers contains a kind of binary code which encodes a number. For example below, you see one representing 5.

Barcode markers may be very useful for various type of applications, especially when you have many locations with various markers. For example, Marcel Freinbichler and Lisi Linhart wanted to do a augmented reality application for their school: “When you go to a room, you point your phone and it shows you in augmented reality the availability of this room.”
So they chosed to use barcode markers: one barcode per room. Thus when the AR application sees the marker, it converts that to into a number which matches the room. So you do a xmlhttprequest to get the current schedule of the room and display it on top of the marker.
I love this idea! It is useful for other people in the school. It has nice panash with AR. But most of all, it provides relevant informations directly where and when needed. This is a key principle for AR applications.
Add Barcode Marker in Your Project
To add them in your project is rather straight forward. First you need to tell AR.js to start detecting them and their type of binary code. So you modify a-scene as below.
<a-scene arjs='detectionMode: mono_and_matrix; matrixCodeType: 3x3;'></a-scene> |
Now that ar.js knows you want to use barcode markers, on each of your marker you need to specify which number you will use, e.g. for barcode 5.
<a-marker type='barcode' value='5'></a-marker> |
Here is barcode marker generator to generate your own. Up to you to use the type of matrix code matches you need. Sometimes such configurations may be painful so to simplify common cases, we used preset.
Markers Presets for Easier Configuration
To make it easier and to avoid repeating ourselves, it is possible to have preset to configure your markers. Currently there are 2 presets “hiro” and “kanji”
<!-- here is a hiro preset --> |

Move the Camera or the Marker?
When handling augmented reality, you need to decide if you want the 3d world origin to be the camera or the marker. Most people will use the marker as origin because it is more intuitive. Let’s see the details of each mode.
In one mode, you use <a-marker-camera>. In this mode, the camera is
moving and the marker is static, fixed at 0,0,0. This way to work is more
common for 3d programmers, so it is the one I use in most examples.
<a-marker-camera preset='hiro'></a-marker-camera> |
In the other mode, you use <a-marker>. It behaves the other way around:
the camera is static at all times while the objects or markers are moving. The
camera is fixed at 0,0,0 at all times and looks toward negative-z.
Nevertheless this mode got a limitation, it can’t handle multiple independent
markers at once. So if you have multiple markers and want to handle them
independently from each other e.g. like in this
video.
You will need to use <a-marker>, and a simple camera instead.
<!-- define your markers --> |
How to Handle Multiple Distinct Markers
Now that we have seen various possibilities of AR.js, let’s end with a last example of multiple distinct markers. Those can be useful in various applications e.g. a ‘measure it’ like below. So we will have 3 markers, one with a preset, one with a custom pattern marker, and a barcode.

<script src="https://aframe.io/releases/0.6.0/aframe.min.js"></script> |
Conclusion
In this post we have seen how to do efficient Augmented Reality with AR.js, and how to add it to your A-Frame project. We now know how to customize content in AR and make it more personal. We’ve also learned that it’s possible to create your own marker with an easy-to-use marker generator. Finally, we’ve learned how to handle the camera and use multiple distinct markers. This is a lot! Congrats on getting to the end without quitting ;)
I hope you all start creating amazing things with AR.js and A-Frame. Don’t forget it’s open source, so your imagination is the limit!
Thanks for reading. Cheers!