Creating a Minecraft Scene in WebVR
Within a week of its release, someone had used A-Frame to create a Minecraft scene. We tracked down the creator, Donovan Kraeker, and he shared his process and tips he learned along the way:
Thank you MozVR Team for creating A-Frame! I’ve been waiting for an entry point into VR for over a year and found the thought of committing the time needed to make good, finished content with WebGL, Unity, and Unreal too intimidating. I figured, eventually an organization or company would come out with a way for the masses to create VR websites and decided to wait. That wait was over on December 16, 2015 when the MozVR team released the first version of A-Frame — the Metaverse has begun!
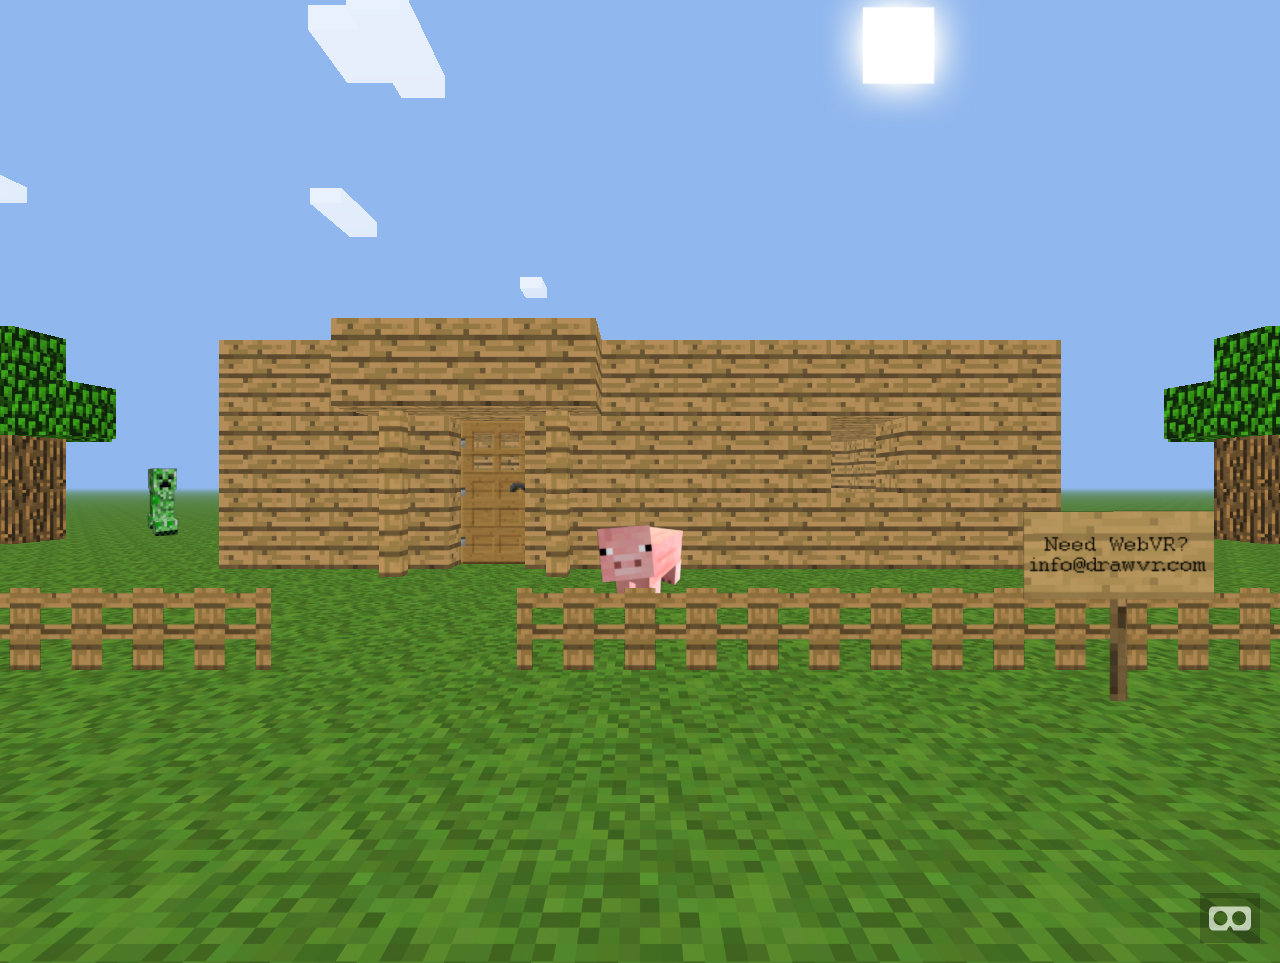
After playing around with A-Frame for a few days I had a simple Minecraft-esque virtual reality website that I could actually enter into and look around in drawvr.com/minecraft/. I tested it on an iPhone using a plastic Google Cardboard like HMD and an Oculus Rift DK2 and they both worked! To say the least, I was ecstatic. I created this VR experience that I could host online and share with my friends, family, and the interwebs.
I started my first project by creating a small plane (ground) to walk around in. I added a grass picture to the plane and the result was a stretched out, poor representation of grass. Then it hit me, just like with websites I can repeat a texture image and checker out a bunch of planes to make the grass look good (better fix below). That’s where I thought of Minecraft; it was the perfect choice. The textures are freely available for parents to make awesome party decor for kids. It’s widely known for being hacked and knocked off. People that have played Minecraft will see the possibility of A-Frame. The blocks even fit perfectly with a depth, width, and height of 1. It’s so close to using the Minecrift version of Minecraft you’d almost think you’re in the game. The way to properly texture an image:
<a-entity geometry="primitive: plane; height: 500; width: 500" |
There are a few tips I learned that may help you on your journey creating your first project:
- First, don’t worry about the first project being good. It can be the fifth; who cares. After the Minecraft project I had two false starts before crafting the next decent experience: drawvr/theater.
- You need Firefox Nightly or experimental Chrome to use an Oculus Rift.
- Positions are written as
0 0 0, I think of it asright,up,backwards. - The starting position for the camera is
0 1.8 4, which is approximately standing height. When you place your first plane, cylinder, image, video, etc., you can place it on0 0 0and see it in front of you rather than being inside it. - Ground or flooring seemed to look best at position
0 0.5 0. - To create a 360° image or sky you need an equirectangular image.
- You can use PNG images to make use of its transparency property. You just need to add
material="transparent: true"until the bug (with OpenGL maybe) is fixed, position your PNGs from the farthest point to the closest to prevent the transparent area of PNGs from mirror background colors. - I kept my tips simple because starting with A-Frame can be as simple as you want it to be. It can also be as powerful as you could imagine. The ability to add interactions and use JavaScript really opens to limitless possibilities that would make Neo from The Matrix proud. With the Oculus Rift, HTC Vive and others about to come out with consumer VR Headsets shortly, A-Frame is about to explode!