laser-controls

NOTE: This version of the documentation tracks unstable development happening on A-Frame’s
masterbranch. If you wish to try it out, grab the unstable build. Otherwise, head to the documentation for the current 1.7.0 version
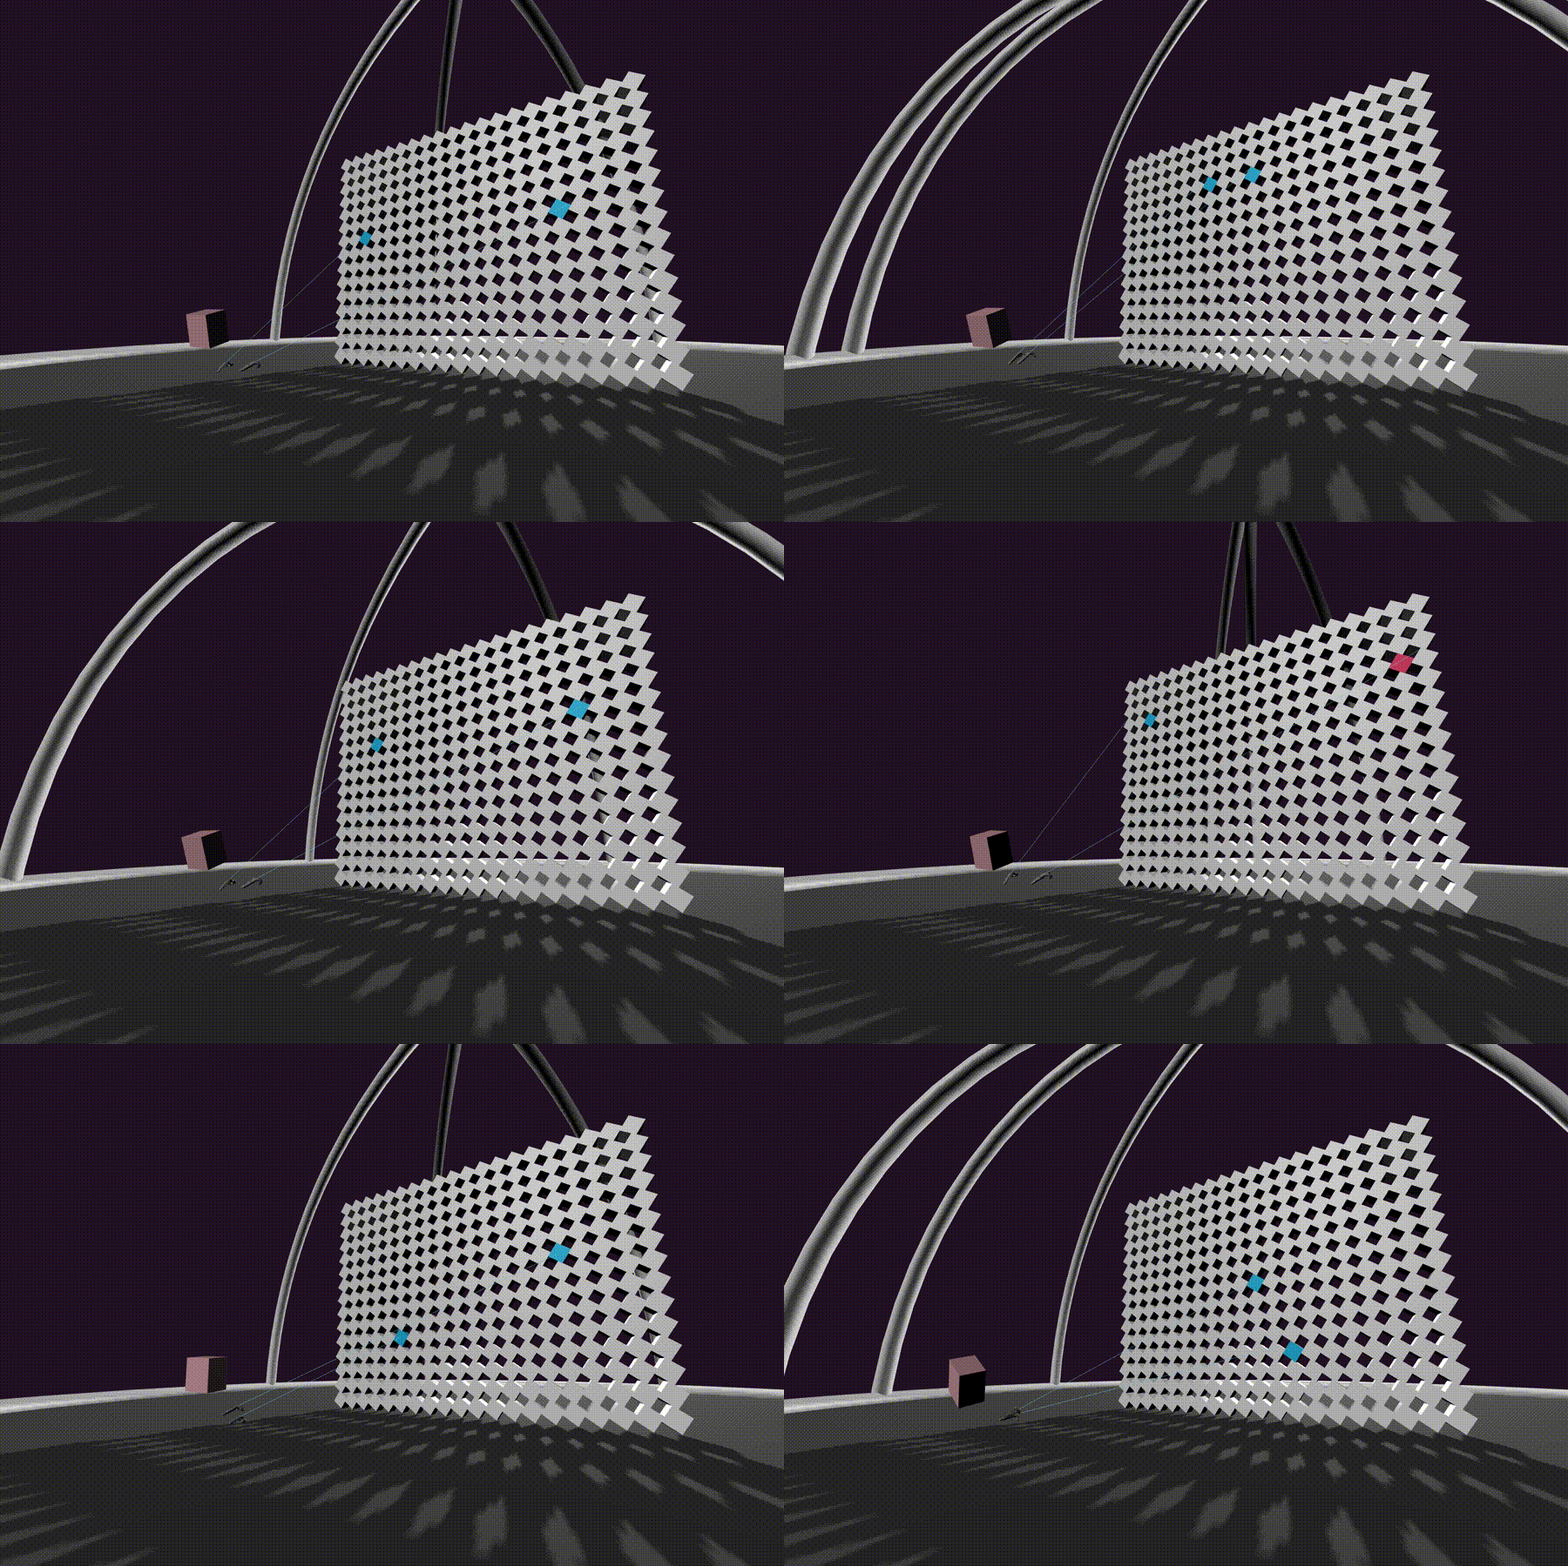
The laser-controls component provides a tracked controller with a laser or ray cursor shooting out to be used for input and interactions. All headsets ship with some form of tracked input controller that has at least a button to trigger actions. Using laser-controls we can get a consistent form of interaction that works across all VR platforms with a single line of HTML.
laser-controls is a higher-order component, meaning the component wraps and configures other components, rather than implementing any logic itself. Under the hood, laser-controls sets all of the tracked controller components:
These controller components get activated if its respective controller is connected and detected via the Gamepad API. Then the model of the actual controller is used. laser-controls then configures the cursor component for listen to the appropriate events and configures the raycaster component to draw the laser.
When the laser intersects with an entity, the length of the line gets truncated to the distance to the intersection point.
Example
<a-entity laser-controls="hand: left"></a-entity> |
Properties
| Properties | Description |
|---|---|
| hand | left or right. |
| model | Whether the default model for the controller is loaded. |
| defaultModelColor | Color for the default controller model. |
Customizing the Raycaster
Configure the raycaster properties.
For example:
<a-entity laser-controls raycaster="objects: .links; far: 5"></a-entity> |
Customizing the Line
See Raycaster: Customizing the Line.
For example:
<a-entity laser-controls raycaster="lineColor: red; lineOpacity: 0.5"></a-entity> |